Installing a Diesel Particulate Filter (DPF) pipe can be a daunting task, especially if you're not familiar with the intricacies of automotive repairs. However, with the right tools and knowledge, you can successfully install a DPF pipe yourself. In this blog post, we’ll walk you through the process step-by-step, ensuring that you have all the information you need for a successful installation.
What is a DPF Pipe?
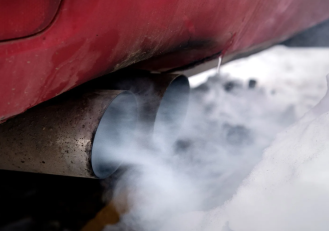
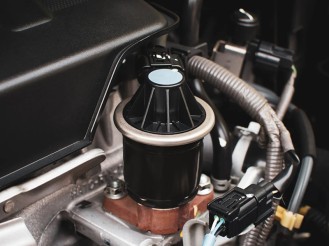
A DPF pipe is a critical component in the exhaust system of diesel engines. Its primary purpose is to filter out harmful soot and particulate matter from the exhaust gases before they are released into the atmosphere. Installing a high-quality DPF pipe can improve your vehicle’s performance and comply with environmental regulations.
Tools and Materials You Will Need
Before you begin the installation, make sure you have the following tools and materials on hand:
- New DPF pipe
- Socket set
- Wrenches
- Pliers
- Jack and jack stands
- Safety goggles
- Gloves
- Exhaust sealant (if needed)
- Torque wrench
Step-by-Step Installation Process
Step 1: Safety First
Start by putting on your safety goggles and gloves. Safety should always be your top priority when working on vehicles. Ensure your vehicle is parked on a flat, stable surface, and engage the parking brake.
Step 2: Lift the Vehicle
Using a jack, lift the vehicle so that you have enough space to work underneath it. Make sure to secure the vehicle with jack stands to prevent any accidents.
Step 3: Remove the Old DPF Pipe
Locate the old DPF pipe and inspect how it is connected. Use your socket set to remove the bolts or clamps holding the DPF pipe in place. Be cautious as there may be residual exhaust fumes or pressure. Once detached, carefully remove the old pipe from your vehicle.
Step 4: Prepare the New DPF Pipe
Before installing the new DPF pipe, inspect it for any damage or defects. If necessary, apply exhaust sealant to ensure a tight fit. This will help prevent any leaks once the pipe is installed.
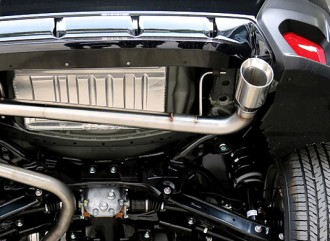
Step 5: Install the New DPF Pipe
Align the new DPF pipe with the exhaust system. Carefully position it and secure it in place using the original bolts or clamps. Be sure not to overtighten, as this could damage the components.
Step 6: Torque Specifications
Consult your vehicle's service manual for the correct torque specifications. Using a torque wrench, tighten the bolts to the specified settings to ensure a secure connection.
Step 7: Check for Leaks
Once everything is secured, start your vehicle and let it run for a few minutes. While the engine is running, check for any exhaust leaks around the newly installed DPF pipe. If you notice any leaks, turn off the engine and recheck the connections.
Step 8: Final Inspection
After confirming that there are no leaks, lower the vehicle back to the ground. Take one last look at the installation, ensuring that everything is properly aligned and secured.
Conclusion
Installing a DPF pipe may seem like a challenging task, but with the right tools and following these steps, you can do it yourself. Proper installation not only helps your vehicle run more efficiently but also contributes to cleaner air by reducing harmful emissions. Always prioritize safety and consult your vehicle’s manual for specific details related to your model. Happy wrenching!
"